
Spirit Week 2025: Candlelight Craft-a-long
- Slightly Sinister

- Feb 19, 2025
- 5 min read
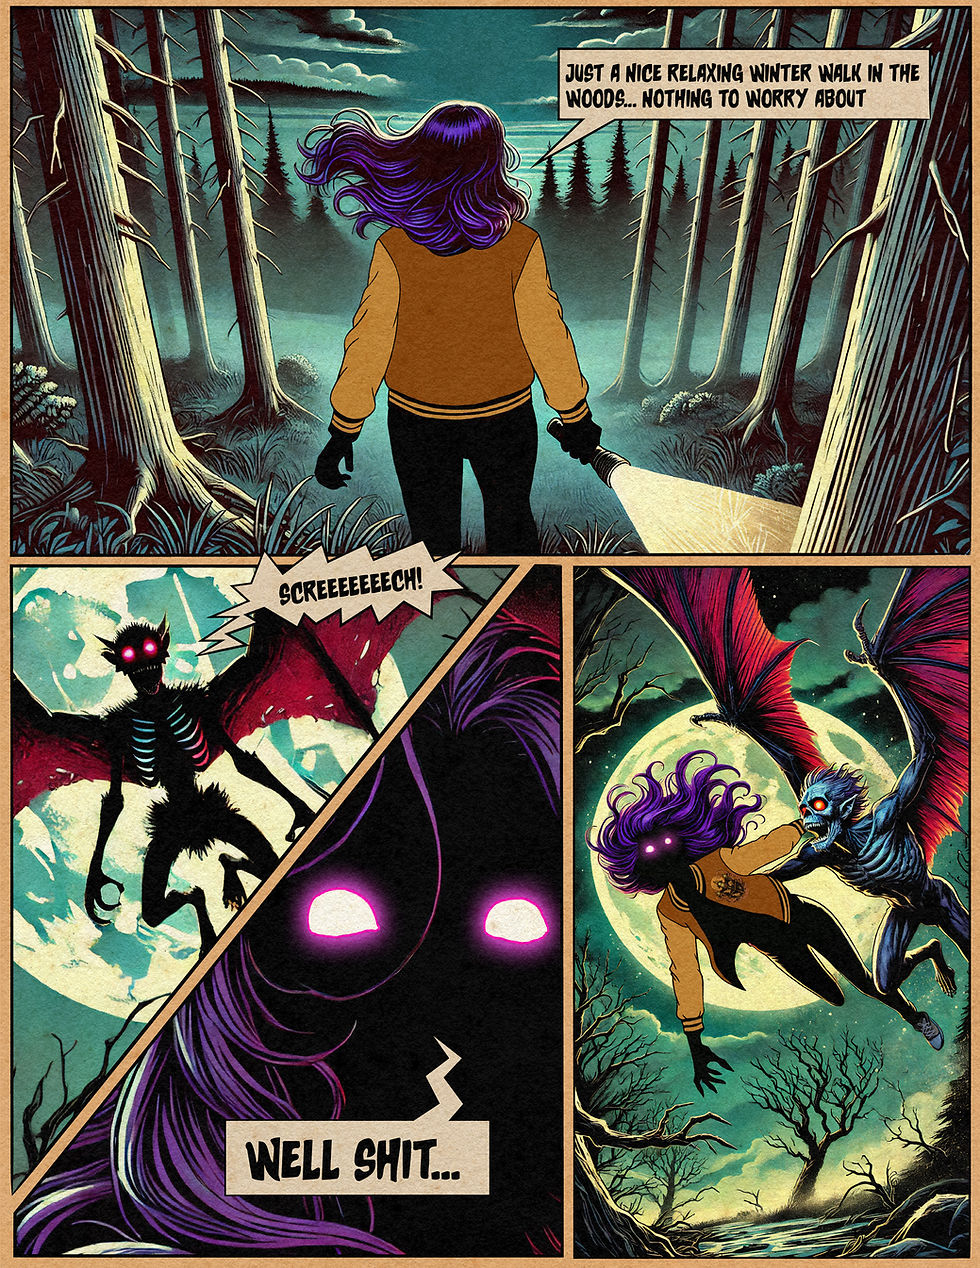
Messages from Mothman

WHEN: SPIRIT WEEK, Wednesday, February 19th @ 6:00 PM CST
WHERE: YouTube live
WHO: EVERYONE, this is a public event for Spirit Week, invite anyone you want!
Welcome back! In an effort to give as much advanced notice as possible, I will be posting Alerts to make everyone aware of upcoming live craft-a-longs several weeks ahead of time. HOPEFULLY this will allow for more people to gather supplies and plan to attend.
It's a new season of Slightly Sinister and in this open to the public Spirit Week Candlelight Craft-A-Log livestream, we’re diving into the timeless art of linocut printmaking. Watch or join along as we design, carve, and print a unique linocut piece from start to finish. Whether you're a beginner or a seasoned printmaker, this session is packed with tips, techniques, and inspiration to fuel your artistic journey.
🖌️ What You’ll See:
-Sketching and transferring designs onto linoleum.
-Carving techniques for clean, precise lines.
-Ink application and the magic of hand-pressed prints.
-Chat and Q&A about tools, materials, project ideas, and the Slightly Sinister community in general.
📌 What you will need: Tools and Resources:
Applying your pattern or design to your linoleum block. There are a few options to accomplish this:
-Draw directly onto your block with pen, pencil, or permanent marker.
-Print a design, layer it over graphic transfer paper, and trace your design.
-Laser Pritner Method: TO BE DONE IN ADVANCE, this method requires 24 hours of dry time:
1. Print a design using a laser printer onto sticker release paper. (the part left after you peel a sticker off, I use Avery shipping label paper.)
2. Coat your linoleum block with a thin layer of acrylic medium.
3. Apply your image face down onto the linoleum block.
4. Press the image into the medium by squeegeeing out the excess medium, but DO NOT squeegee too hard, you will smear your image.
5. Set aside and let dry for 24 hours. The image will transfer once the acrylic medium has dried.
6. VERY CAREFULLY peel the sticker release paper away, and your image should be left behind. You might have to take a pen, pencil or marker and fill in any gaps in your image.
This process is great for complex designs, or if you are not confident in your drawing skills. I will warn you that this takes several times to get the process right....
Here is a video that sort of explains this method if you need a visual guide. This artist makes some very large and complex pieces, it's worth a watch:
Here is another method by one of my favorite Linocut artists, I feel like this method has a slightly better transfer quality, as far as how much of the design ends up on your lino. However, the crumbly wet paper bits drive me absolutely bonkers:
For the livestream I am going to use graphite paper to transfer a sketch onto my block. If I try drawing an unplanned design while doing a live, I'm just asking for a spell of creative block...
Essential Tools:
Links provided are for product information and not a direct endorsement of the vendor.
Full essentials kit from Speedball: Good option if you have never done this before but want to give printmaking a try: https://a.co/d/ihFr27A
Pencil/Marker – For sketching your design onto the block.
Graphite transfer paper – To transfer a design onto the linoleum.
Linoleum Block – Small size (e.g., 4"x6" or 6"x8") for manageable projects. There are several types of blocks you can use:
1. Rubber "easy carve": Best for beginners and easiest on newbie tools: found in most craft stores. Amazon link for an example, small 4x6 size: https://a.co/d/7LSYXu8
2. Common Gray lino blocks/sheets: super detailed clean sharp lines, a bit crumbly so make sure your tools are sharp! Can also be found in most craft stores. Mounted blocks are typically more expensive. Here is an amazon link: https://a.co/d/3xM3ouj
3. "Japanese style" lino block/sheets: Considered the best for really detailed designs, very durable under repeated print use. Usually have to order through a foreign vendor. This website is a good resource for upcoming craft-a-longs, so maybe go ahead and bookmark their homepage while you are there fo ryour lino: Lino - Single Sheet
Linocut Carving Tools – A basic set with gouges in varying sizes (V-gouge, U-gouge, small detail tip).
1. Beginner set with interchangeable tips is the thriftiest option: carried by most craft stores, or can be ordered here: https://a.co/d/5AW50cG Next step up, flexcut interchangeable set: https://a.co/d/dUPo4wP
2. One piece hand carving tools: Best if you are going to get into printmaking, will require you to eventually learn how to sharpen your tools, but tend to stay sharp longer. Here are my favorites: Order of expensiveness
-Flexcut micro palm setl: https://a.co/d/0HVK8O2
-Pfiel C set, I use these for woodcut as well: https://a.co/d/gdN2Mhu
-Professional quality hand carving tools, this site offers high quality sets and individual tools, but you should be looking for V and U channel carvers: iMcClains.com - McClain's Printmaking Supplies
1 color of acrylic paint or India Ink – used to stain your block so you can easily see your cuts. I mostly use watered down Folkart red paint because it dries faster than my watered-down India ink, however the paint reconstitutes and gets on my palm, then everywhere else I don't want it. Folkart you can find at any craft store, here is a link for India ink on Amazon: https://a.co/d/1rJ3KSo
Ink Roller (Brayer) – A 4" soft rubber brayer for even ink application. https://a.co/d/gQs2iDM
Block Printing Ink – Water-based or oil-based ink in your desired color(s).
1. Water base cleans up easier and might be best to start with, just be careful not to get your prints wet! Speedball is the cheapest: https://a.co/d/5emefpY
2. Oil-based: Best for durability, fade-resistant color, but has longer dry time. Here is the ink I use in the smallest tube size: Cranfield Caligo Safe Wash Relief Ink - Black, 75 ml | BLICK Art Materials
Baren or Spoon – A "pressing tool" For hand-pressing the print; a smooth kitchen spoon works as an alternative. If you want a baren, here is an online option: https://a.co/d/cPFYUP4
Paper – Printmaking paper, such as Speedball, Strathmore, or even recycled paper for experimentation. Typically, a thicker paper. Here is a cost-effective pad: https://a.co/d/ehWH3ol
Rags or Paper Towels – I always get ink everywhere... paper towels and water on standby
Optional (Helpful) Tools:
Bench clamp – To hold the linoleum block in place while carving safely. Not really a concern with smaller projects.
Cutting Mat – Protects your work surface from potential damage.


Comments